Install posts securely, measure carefully, and cut rails to fit with proper angles.
01Pick up materials and Prepare Tools10-15 min
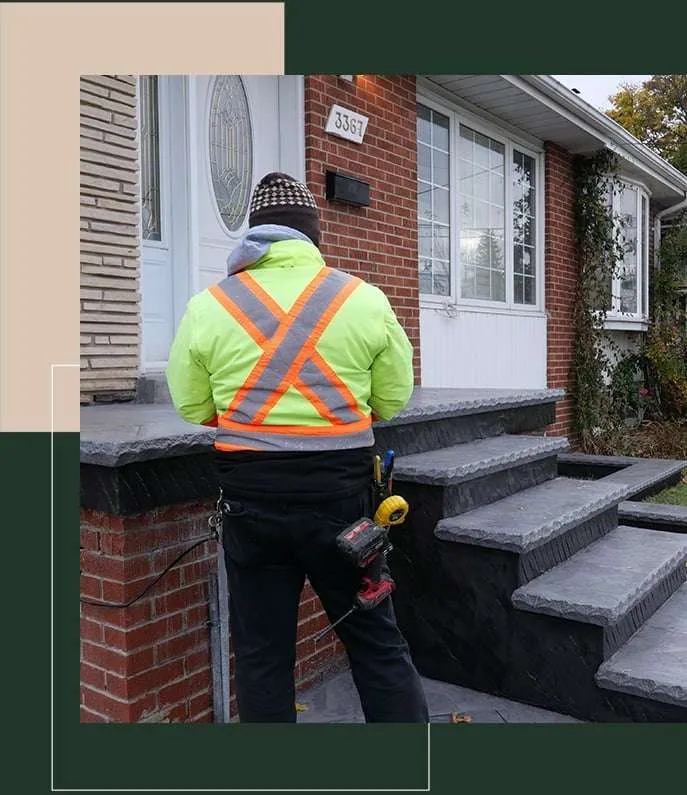
Our posts come precut to 42” or 36” railing, One of our specialists will review your plan drawing and packing slip with you. When your materials arrive, check to make sure you have everything. If anything is missing or you have questions, contact us right away.
Tools Checklist
10 min
Impact Driver
$140
Power Drill
$198
Concrete Drill
$219
Clamps
$35
Composit Shims
$30
Level
$15
Measuring Tape
$10
Non-ferrous Blade
$33
Square
$14
Mitre Saw
(with non-ferrous blade) $140
01Pick up materials and Prepare Tools10-15 min
Our posts come precut to 42” or 36” railing, One of our specialists will review your plan drawing and packing slip with you. When your materials arrive, check to make sure you have everything. If anything is missing or you have questions, contact us right away.
Tools Checklist
10 min
Impact Driver
$140
Power Drill
$198
Concrete Drill
$219
Clamps
$35
Composit Shims
$30
Level
$15
Measuring Tape
$10
Non-ferrous Blade
$33
Square
$14
Mitre Saw
(with non-ferrous blade) $140
02 Install Brackets60-90 min
Use a clamp to prevent the top bracket from sliding while fastening.
For the bottom bracket, use a piece of wood cut at 2 and 1/2 inches to hold the bracket while fastening.
Mark the installation location for the brackets on the wall or post.
Ensure one post is loose before sliding the rails into the brackets.
Fasten the rails to the brackets using 5/8-inch self-tapping screws.
Measure the distance from post to post: Submit your measurements to the office for ordering. We stock standard glass panel sizes ranging from 12″ × 35⅜” to 60″ × 35⅜”, available in 1″ increments.
Click the Glass Order Form button to download the PDF. After filling it out, simply email the completed form to info@ottawa deckandrail.com.
Review Materials: Make sure they match what came on your invoice and site layout.
Position the first end post: Place one end post near the edge of your deck so the lag bolts will secure it to adequate blocking/support. Square the post with the deck edge and mark the holes with a pencil.
Pre-drill and attach the first post: Pre-drill the holes and fasten the post to the deck. Do not fully tighten the lag bolts yet.
Install the second end post: Repeat steps 1-2 for the remaining end post.
Measure for rails: Measure the distance between the two posts from the inside edge of each post, NOT from the baseplates. Add 2.5 inches to your measurement
Cut and insert rails: Cut both the top and bottom rails to that length. Insert the rails into the slots in the end posts.
Level and secure posts: Check if your posts are level. If not, level them using shims. Then fully tighten the lag bolts.
Secure the bottom rail: Use two 1.5-inch screws (one per side) on the inside of the bottom rail or outside of the post to prevent the bottom rail from moving.
Install corner posts: For jobs that need corner posts, cut the rails at 45 degree angle to fit into the corner post. Make sure the post is loose, line up the rails and fasten using the 1 1/2″ self-tapping screws, then level the posts.
Install line posts: Slide the rails through the line post. Make sure one post is loose and put it together to build the frame. Level the line post and fasten the rails onto the post using the 1 1/2″ self-tapping screws.
If you can’t use the full rail then use the included splice, join the two rails together using the splice and fasten using 2 screws.
Remove plastic lining and cut 2 sections of rubber gasket and place them in the top and bottom rail. Make sure they are cut precisely to ensure that the bottom rail will not slide.
Place glass blocks on the inside of the gasket for the bottom rail.
Gently insert the glass by pushing the glass up in to the top rail and pushing into the bottom rail.
04Finishing Touches and Final Check30-45 min
Many clients opt for baseplate covers. To install them, slide the two halves together around the post and snap them into place.
Go over the entire railing system and check if you missed any loose screws, notice if there are any scratches.
Step back to admire a job well done.
Troubleshooting Guide
Common issues and soltions from our installation experts
Posts feel wobbly after installation
Posts feel wobbly after installation
Consider adding bracing between posts for extra stability
Drill bit gets stuck in concrete
Drill hole at new angle
Use a hammer drill with carbide-tipped masonry bit
Clear debris frequently by pulling bit out while drilling
Use proper drilling technique: don't force, let tool do the work
Railing sections don't align properly
Double-check that all posts are plumb and level
Measure twice, adjust posts before final tightening
Use adjustable rail brackets if available
Consider professional consultation for complex layouts
Concrete cracks during drilling
Start with smaller pilot hole, gradually increase size
Keep drill bit cool with water or compressed air
Avoid drilling too close to edges (minimum 3 inches)
Check for rebar or existing stress points
Do I remove the blue plastic liner from the railing?
No, leave the blue plastic liner in place - it's designed to stay
The liner provides weather protection and is part of the railing system
Removing it may void your warranty and compromise durability
Only remove protective film from visible surfaces, not structural liners
Stair Aluminum Railing - Quick Code Checklist
Post Layout
Max 5ft apart (level + stairs)
Set ~ 1″ in from step/landing edge (more if step overhangs)
Posts must handle 200 lb sideways load
Picket Spacing
Our picket spacers come factory-spaced under 4″ (no adjustments needed)
Railing Height
Guard height: min 36″ from step/landing
Stair handrail: 34″–38″ from stair nosing (the front edge of the step that sticks out a little)
Anchoring
Into concrete, wood with blocking, or tile/stone over concrete
The kit comes with standard 3″ Tapcon-style screws. Use the correct fastener for material type (ex: wood, concrete, or tile)